Building a rotisserie grill is a significant endeavor that comes with a variety of benefits. You won’t have to run to the grocery anymore to get roast meats or any other type of roasted food.
If you are wondering if it is possible to build a rotisserie grill, you have just landed on the right page.
The answer is yes. Building a rotisserie grill is possible and very doable when you have the right tips and correct information. When you have your rotisserie grill, you will be enjoying the tender and delicious rotisserie meals with your family made right from your backyard.
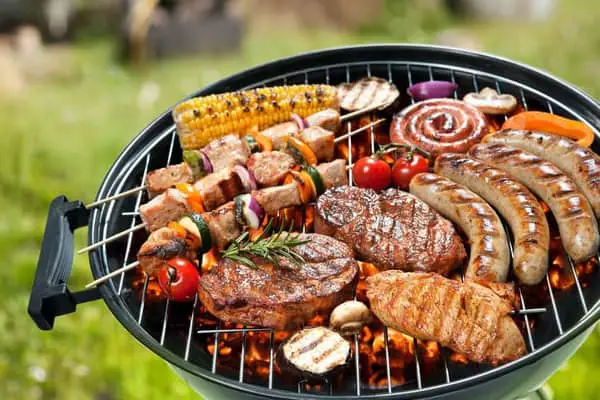
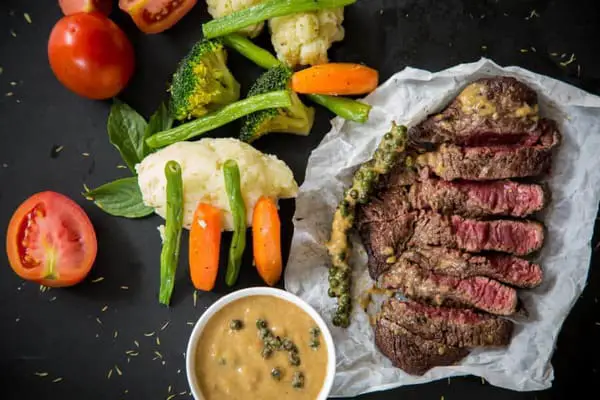
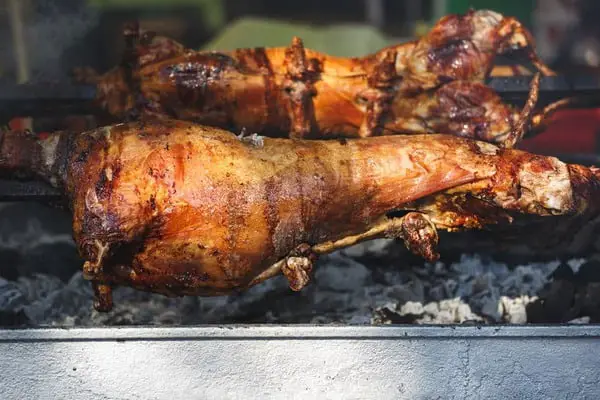
Rotisserie grill allows you to cook succulent meat by distributing heat evenly and roasting at a constant speed. Whether you like roasting big joints of meat, lamb or goat legs, full chicken, pig, or fish, a rotisserie grill will come in handy.
A rotisserie grill will enable you to cook delicious meat quickly and securely without much checking, turning, or flipping. That being said, it is beneficial to build your rotisserie grill for roasting meat for you and your family anytime you want.
This article presents to you a complete guide on how to build a rotisserie grill and tips for mastering rotisserie grilling. Read on to learn more!
How to Build a Rotisserie Grill
While building a rotisserie grill can be a challenging DIY project, the outcomes are worth it, and you’ll enjoy roasting moist meat right in your home.
This project involves some engineering and machining. You will also need to find some various parts and equipment to ensure the success of your project.
Requirements for the Barbeque Body
- · 25 (8” X 8” X16”) standard blocks
- · 15 (8” X 8” X 16”) cap blocks
- · 4 (8” X 8” X 8”) half blocks
- · 22 (12” X12”) patio stones (optional)
- · 4 to 8 Wood/ metal stakes
- · 1 Flagging tape or string
Requirements for the Pit
- · 1 (16” X 12”) wide expanded steel
- · 6 to 8 (24”) rebar pieces (optional)
- · Cubic feet of sand or gravel
- · 2 (4” X1.5”) metal pipe
Requirements for the Grill
- · Expanded steel 30” X 48”
- · 1” X 64” Steel pipe
Requirements for the Top/Lid
- · Food-grade steel drum
- · 20′ x 1.5″ angle iron
- · Wooden hockey stick
- · 5″ x 5/16″ bolts with nuts & washers
- · 2′ x 1/2″ threaded rod with nuts & washers
- · High-heat flat-black BBQ spray paint
Tools and Equipment Needed
- · Hammer
- · Shovel
- · Gloves
- · Safety Glasses
- · Long level
- · Short level
- · Measuring tape
- · Old Chisel or Axe
- · Permanent marker
- · Carpenter square
- · Hand-held grinder
- · Metal Cutting Discs
- · An Axe for any woodwork
Once you gather the necessary material and equipment, follow these nine steps to build a reliable rotisserie grill.
- Scale the Size You Want for Your Rotisserie Grill
When building a rotisserie grill with standard concrete blocks, it is very easy to scale the size and design.
Some people like small rotisserie grills while others are pleased with the large ones. So, you can make it the size you want.
You can buy the new standard concrete blocks from a hardware store or look for seconds, which will save you money.
- Find a Location
Before you start building the rotisserie, it is essential to carefully choose the location where you are building it.
Since a rotisserie gives out a lot of smoke while working, choose a location away from play areas and trees.
If you are using an electric motor, choose a location near an electric outlet.
Besides, you will be digging down while laying the rotisserie foundation. Hence, a place without a lot of roots will be more favorable.
- Laying the Foundation
After deciding on a suitable location, mark a perimeter of about 68” by 28” using flagging tape and sticks.
Level the marked perimeter and lay down 12″ by 12″ flagstones to distribute the weight evenly and prevent the stones from falling into the hole.
Dig a one-foot pit inside the flagstones. It is crucial to lay the flagstones first to avoid digging a huge hole.
To prevent soil on the borders from caving into the pit, reinforce it with expanded metal. Use two-feet rebar stakes to hold the metal in place.
- Lay the Blocks Down
Lay down the blocks close and tight to each other as much as possible, ensuring they are on one level.
You can use a hammer or an ax to remove the bumps and small extra bits on some blocks to level them.
On the first low, lay the blocks sideways to allow free air movement in and out of the rotisserie.
In areas where you may need half blocks, you can use cap block blocks. Cap blocks are almost of the same cost to the cinder blocks, and they give an equally polished appearance.
- Up and Away
Build three rows of the blocks on the already laid stones. On the third row, use half blocks on the ends to form a gap where the spit will go through.
Put a two-inch of sand at the bottom of the hole and drill half-inch holes on both sides of the top row of cinder blocks. These holes will be used to mount the hinge brackets.
- Add Support
For the spit, you can use an eight-foot steel pipe with holes drilled on its length and a gear welded on one of its ends.
To support the steel pipe, hammer a 1.5” pipe 24 inches into the ground on both ends of the rotisserie.
Weld horizontal arms on the tops of the pipes and V brackets to hold the rotating pipe.
Make the heights of the horizontal arms adjustable by sliding one smaller pipe inside a bigger pipe. Holes are then drilled on the pipe where a bolt is inserted at different heights.
- Putting a Cape
You can improvise an excellent cape to cover the rotisserie using an old-food grade drum which is cut into two, lengthwise, bed-frame angle iron and a half-inch threaded rod.
In case you need a few welding skills to make the cape, seek the help of a welder.
Since the cape can get very hot sometimes, you can use 5” bolts of copper pipe to make a handle for opening and closing the cape.
If the steel drum is not wide enough to cover the entire rotisserie, add a wide steel plate at the back.
- Test Your Rotisserie Grill
Before using the rotisserie for cooking, lit fire to drive any vapors from the paints on the materials used.
To prevent rusting on the metals used in the rotisserie, use high-heat paint to paint the exterior surfaces. Canola oil may also help in protecting the internal parts.
- Roast Your Meat Already
Guess what? Here is your finished rotisserie grill, ready for use. You can use charcoal briquettes for a quick and lasting heat source when roasting meat.
Now that you have learned how to build a homemade rotisserie grill, let’s see several tips for mastering rotisserie outdoor grilling with your homemade rotisserie grill.
Essential Tips for Mastering Rotisserie Grilling
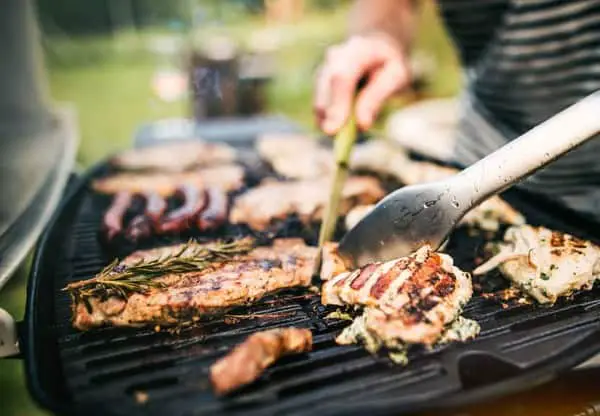
Most people like roasting on a rotisserie as it is a stress-free way of cooking delicious meat.
It does not involve a lot of rapid hand activities like turning, flipping, or even checking.
However, grilling on the rotisserie can be tricky, especially if you are doing it for the first time, or don’t have much experience.
Fortunately, you don’t have to worry about it. You will be fully equipped on how to roast on a rotisserie after reading this section.
Ready to learn? Here we go…
- Bind and Spit Your Meat
Regardless of the type of meat you are cooking, it is vital to truss it well before mounting it on the rotisserie grill.
Even though the rotisserie turns gently as the meat cooks, the roast may get loose in the cooking process if it’s not securely trussed.
Therefore, you should securely tie your meat to the spit with spit for forks, and push them tightly. This will ensure that nothing wobbles as the meat cooks.
- Confirm That You Have the Right Equipment
Having a strong rotisserie attachment with a powerful motor, like the one we built in this article is key.
Other equipment you might need when cooking meat with your rotisserie grill include trussing twine, spit, spit forks, motor, motor mount, and heatproof gloves.
- Test Before You Start the Actual Grilling
It is essential to test that your trussed meat fits well and rotates on the rotisserie freely.
You should not heat the grill before you do the testing. In case there is a problem, you will be able to fix it when the grill is not already hot.
- Set Up the Rotisserie Grill for Indirect Heating
The good thing with a rotisserie grill is that it cooks the meat with indirect and evenly distributed heat.
So, light charcoal or coals then pour them inside the grill. Then put the rotisserie ring on the grill and ensure that it is well-positioned.
Preheat the grill with high heat for about fifteen minutes. Then reduce the high heat to medium.
Medium heating will prevent your meat from being overdone on the outside. Thus, the cooking heat should remain medium-low throughout after preheating.
- Ensure that the Motor is Working Efficiently
Another thing you want to be sure of is whether the motor is working efficiently as it should.
If the motor is not working well, it will lead to irregular spinning, and this will further lead to uneven heating.
Plug the rotisserie motor in the mounting bracket and turn the motor on and off to confirm if it is working efficiently.
- Attach the Spit into the Rotisserie Bracket
Take the spit and mount it into the rotisserie bracket. Make sure you are wearing heatproof gloves to avoid burns.
If you are cooking a full and heavy animal, you might want to balance it well. Adjusting your meat until you achieve the right balance will allow the meat to cook evenly.
If it is small parts of meat, make sure they are cut into equal sizes and securely trussed with spit forks.
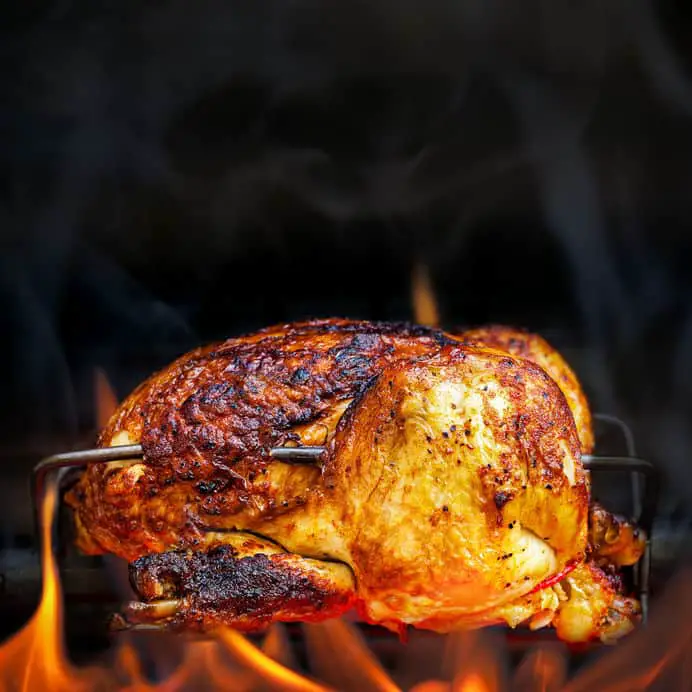
When roasting a full chicken, try to make it round as much as you can to promote even cooking.
- Turn on the Rotisserie Motor
Once you set up everything and you confirm that the spit is spinning freely, turn on the motor and let your meat cook.
It would help if you also kept adding a few charcoal or coal after every 30 minutes to maintain a consistent medium heating.
You must be wondering how long it will take for your roast to get ready, right?
Well, depending on the type and size of meat you are roasting, the cooking time in a rotisserie grill usually ranges from one to three hours.
For instance, roasting a rib weighing about 3 pounds will take at most two hours. Roasting a chicken may take approximately one and a half hours.
- Use Heat Proof Gloves to Remove the Spit from the Grill
When your meat is already cooked, wear your heatproof gloves and remove the spit from the grill and put it on a carving board.
You should be very careful since the spit is extremely hot at this point.
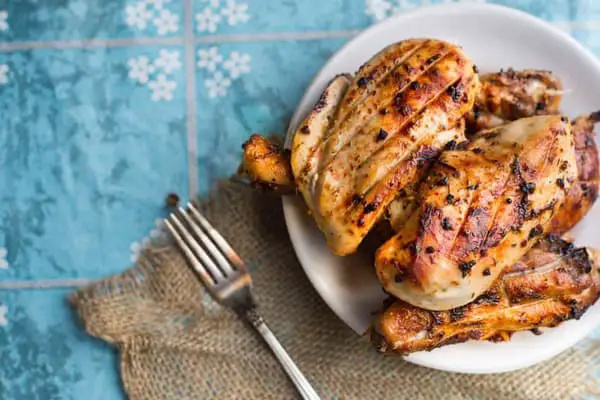
- Remove the Roasted Meat from the Spit
Start by removing the spit fork first with your heatproof gloves still on.
Then use a carving fork or tongs to remove the roast from the spit and place it on a cutting board.
If you had used a trussing string, cut it off from the roast immediately as it could harden as the roast cools.
- Rest and Wait for Up to Ten Minutes Before Serving
Once you remove your roast from the spit, you should leave it for about five to fifteen minutes before carving and serving.
Conclusion
Being able to roast meat in your backyard is a great thing. It all begins with building a reliable and efficient rotisserie grill.
If you follow the steps analyzed in this text, you will successfully build a nice rotisserie grill. The tips presented above will also help you master rotisserie grilling and cook the tastiest meat for your family.
The rotisserie grill will also be handy when you are hosting a Thanksgiving feast or family meetings. You won’t have to rent a grill for meat preparation.