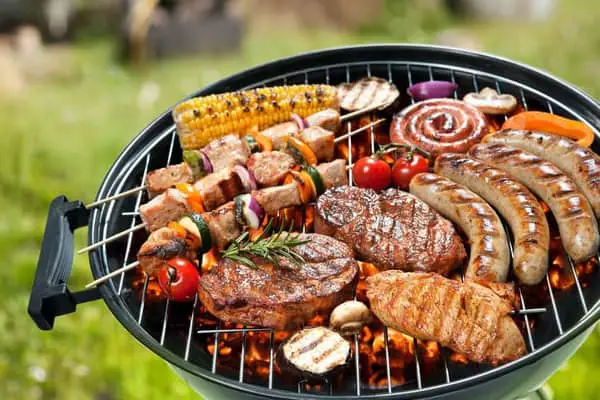
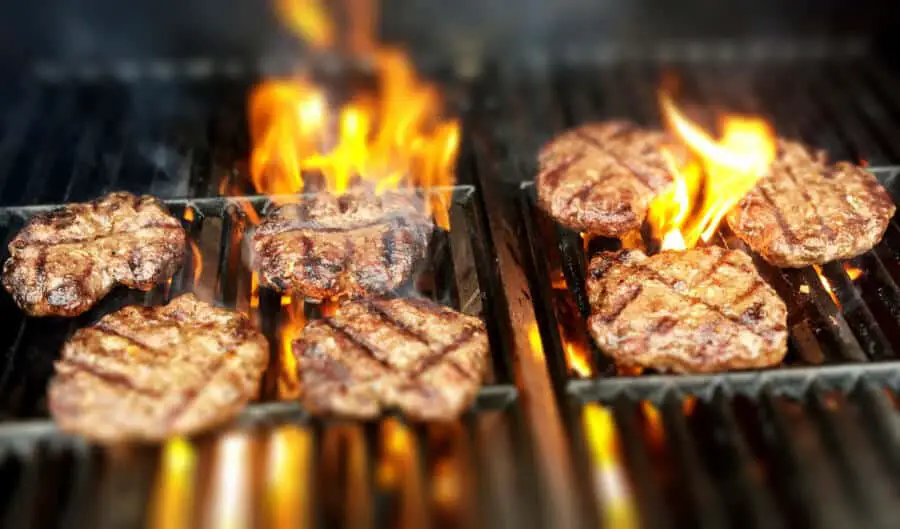
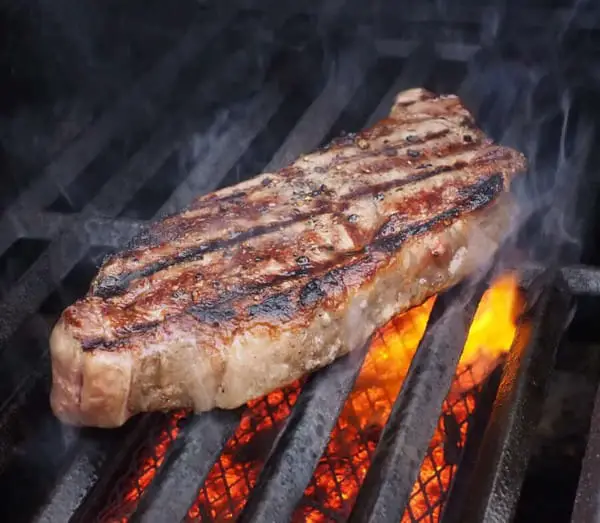
Do you love grilling or grilled foods? If yes, then you understand why you might need a heat shield for your grill. Grill burners usually operate in high temperatures, and because they are at the bottom of the rack, they are subject to cooking meat’s drippings. These drippings can cause corrosion to the burners, therefore reducing their lifespan and effectiveness. Due to this, you have every reason you need to have a heat shield for your grill.
Make your grilling process a blast; enjoy every step of it as much as you enjoy the foods. There is no reason to spend much on buying manufactured heat shields when you can make them at home.
How to make homemade heat shields
- Take measurements of the grill’s body’s width and length, between the bottom of the grill grate and the burner. You will do this to ensure that you make a heat shield that can perfectly fit the space. It is essential when you are doing this to consider the size of the materials you have.
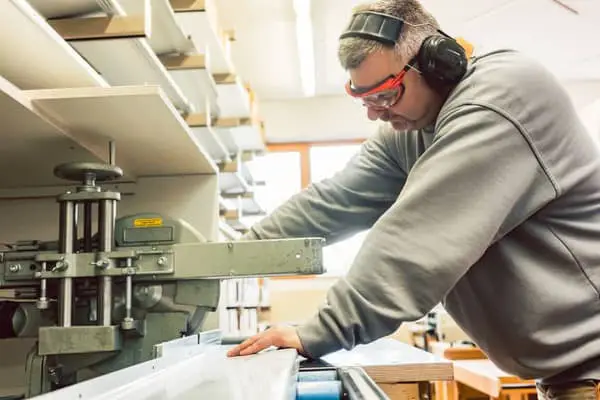
- Use a jigsaw to cut the expanded stainless steel to your desired measurements. Before cutting the steel, ensure that you put on safety goggles to protect your eyes.
- Place the piece of the stainless still on the grill rests if available. In case it does not have rests where to place the heat shields, drill four miles on the exact points where you had measured the expanded steel. Drive the bolts into the holes, steady the pins with the nuts, and place the steel piece already developed on the pegs.
- Finally, place the lava rocks or the ceramic briquettes on top of the expanded stainless steel before turning on your burner to test the new heat shield’s workability.
Precautions to take while making a heat shield
- It is prudent to burn off all food drippings after every grilling for your heat shield’s extended lifespan.
- Always put on safety goggles while cutting metals to prevent shards from getting into your eyes.
- Please don’t do the project when your grill is still hot, always wait until it is thoroughly cooled.
- Purposes of a heat shield
- Heat shields help in dispersing heat evenly across the cooking surface.
- They protect the burner from food drippings that might cause flame up and corrosion.
Materials used to make a homemade health shield for a grill
Cast iron coated with porcelain. The cast iron is a material that contains alloys of iron-carbon elements. It is useful in a heat shield as it is resistive to melting even in high temperatures.
Chrome-plated steel helps the heat shield to be resistive to corrosion, very easy to clean and increase its hardness.
Porcelain-coated steel. The porcelain material is more resistant to chemical reactions when mixed with iron. When used in the heat shield, it helps it not to be damaged by chemicals that may fall on it.
Cast iron, mostly for charcoal grills
Aluminum steel is a material that is a mixture of aluminum and silicon alloys. The importance of this material is to hold temperatures at required ranges at specific conditions.
Ceramic; is a material made through the use of hard soils such as clay on metallic elements. Ceramic is more resistant to corrosion and heat loss.
Factors to Consider When Making a Homemade Heat Shield for a Grill
There are several things to ensure when making a homemade heat shield to ensure its functionality does well. They include
- Stability or stamina
Heat shields are made to be used on hot flames. The heat produced by these flames causes a form of energy and expansions, which may cause the metal rods to be weak. Moreover, during cooking, some meals when cooking or stirring need to use some power. During these moments, the heat shield may get damaged if they are not stable. The stands that hold the whole cooking system with a heat shield have to be made more durable to withstand all activities on the heat shield.
- Heat distribution
The homemade heat shield, especially for the outdoor grills, should be made to suit the environment where to be used. The best action on this is to ensure that the heat or the temperature on the heat shield is uniformly distributed. The range of weather and temperatures to cook food well should not cause leakage for the loss of heat on one side or different sides while there is a part that is receiving more heat.
- Temperature volume
Different foods cook at different temperatures. For this case, when designing a homemade heat shield, it is essential to consider adding temperature regulators such as temperature volume. Using this part of heat regulation, you can lower the temperature for your heat shield not to get too hot when you need low heat to cook your food. The temperature volume is also useful when you need to fasten food cooking by increasing the temperature to heat the heat shield.
- Environment friendliness
Different people stay in specific areas of the environment with unique behavior. Some areas are rainy or windy or with snow, and people living in these areas may need to use the heat shields. For example, when using the heat shield on breezy surroundings, it gets cool faster than when there is no wind.
Therefore when making heat shields, you should make sure that they can be used in different environments. It may need additional solutions on the heat shields that are affected by different weather.
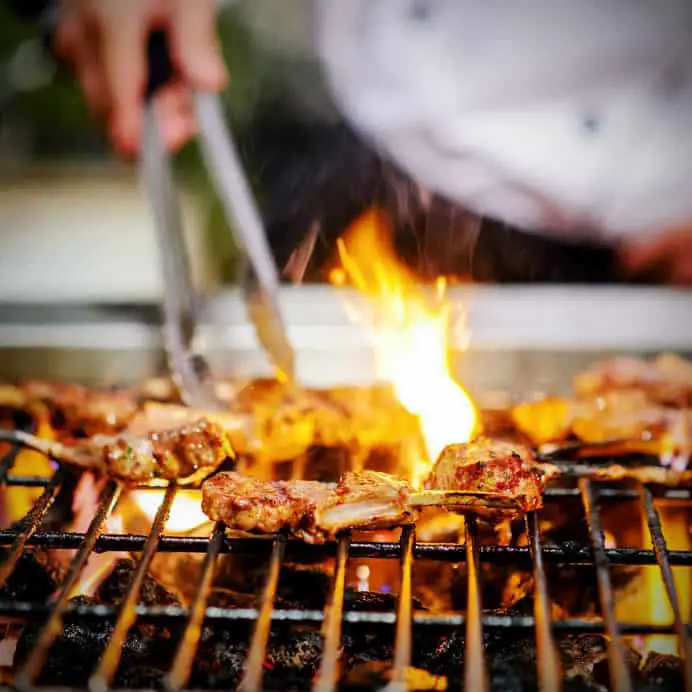
Using homemade heat shields in some environments can be risky for causing a fire; for example, when roasting meat, flames can easily flare-up. It is crucial to consider the risk of this and provide proper guidance to curb the flame risks.
Advantages of Using Heat Shields on Grills over Rocks
Unlike rock, heat shields do not harbor bacteria as they are open and easy to clean.
They are lightweight and, therefore, easily portable and cannot damage the grills, be it gas or charcoal grills.
Heat shields are simple to replace because their materials are cheap and locally available.
They can vaporize the food drippings and infuse them with more taste.
Here is a guide on how to repair and replace the broken parts plus the materials you need.
Sometimes your grill might wear, but there is a way you can fix it instead of throwing it away.
1. Decide on what to do
You first have to choose the kind of action to take on your BBQ, depending on the damage. Here you will have to select either replace or restore; if you decide to restore, and then chill for the next step.
2. Thorough cleaning
Dump the loose metal bits into the trash; spray the BBQ with a degreaser and scrub. Remove chemicals by tossing off and burn the degreaser residue. Use citrus-based cleaners to clean the parts.
3. Prepare for the heat shield and burner mounts
Here you will clean rust holes using a wire brush.
4. Mount the burner and heat shield
Use stainless steel for burner and heat shield mounts. Do not use galvanized or aluminum metals even though f they are cheap. Because they emit harmful fumes when heated—drill holes by either eyeballing or taking measurements. Mount the parts by placing by hand, drilling a mess, and riveting it. Do so for all the gaps until you finish.
5. Final cleaning, burning, and testing
After finishing all the cleaning, you have to redo it to ensure you burn off all chemical residues. Crank the grill and close it to let it burn for almost an hour or more. Then finally test to see if it works.
What You Need When Replacing Heat Shield?
- Stainless steel screw
- Bits and drills
- Short to medium rivets and rivet gun
- Abrasives; Weiland wire cup brush and Weber grill Scour pads
- Parts to be renovated which include, new heat shields, slough, and grates
Characteristics of a suitable heat shield
a) They should be excellent dispersers or diffusers of heat to ensure equal distribution of heat in the BBQ. It should carry flames across the cooking surface for even cooking and eating to avoid unevenly cooked meals.
b) Good heat shields should be easy to clean and have the ability to retain heat.
c) They should be long-lasting to serve you long enough without frequent replacements.
d) Excellent heat shields should add flavor to foods without including chemicals.
e) Recommendable heat shields should be eco friendly. That is, they should not cause any adverse effects on the environment.
How to Clean Your Heat Shields
Heat shields are easy to clean. Use a scrubbing brush to scrub if the dirt and wipe the debris. You should do all the cleaning while they are cold. Alternatively, you can turn them on for the trash to fall off, or soak them in vinegar
Here is a guide on how to clean grill heat shields
- Put off and disconnect the gas line and fill soapy and warm water to a bucket.
- Remove the heat shields and scrub them using a wired scrub. If you are using a charcoal grill, you should brush the interior and move to set four.
- Remove the boundary separating the shield and the burners. Use a soft wire brush to unplug the heater. Clean any ash and take it back to its place.
- Scrub the interior surfaces of the shield and rinse it with warm soapy water.
- Set it for drying.
Why clean heat shields
- Cleaning helps prevent foods from attaching to the grill surface.
- A clean heat shield keeps your food’s grit off leftovers.
- A clean hot plate ensures you fresh, healthy, delicious, and germ-free meals.
Seasoning and Maintenance of BBQ Heat Shields
How to season
- Wash the plate with warm water and soap
- Rinse with clean water and dry it
- Turn on the grill and apply for cooking or vegetable oil with a brush or scrapper. Then turn on both burners into high heat for at least two minutes.
- After heating, turn off the grill and wipe that layer of oil.
How to maintain the seasoning
To ensure that you maintain the seasoning, ensure that you scrape off for particles from the hot plate. However, do not wash it with water to avoid rusting.
Apply a layer of vegetable oil to the shield
Before using it the next time, you should preheat the grill to burn the oil. Note that the shield will be changing colors from its original color to a golden brown and even darker. At this stage, your hot plate is fully seasoned, and you are ready to go.
Best Grill Heat Plates to Purchase
When dirt begins to build up in your burner, it implies that your grill heat plates are defective and need a replacement. If they are no longer helping your foods, taste sweet, or protect your burners, you go for a replacement. Here are the best grill heat plates for your consideration.
- Hongso stainless steel heat plate

Get it Now on Amazon
The plate has a design that suits specific brands of grills, such as Nexgrill, and Glen Canyon. It is a durable and long-lasting shield to serve you long enough without calling for a replacement. They come in perfect measurements. Therefore, you don’t need to adjust them when installing. Hongso is available either in single units or sets, in most cases, sets of five. They are easy to clean.
- Unicook steel heat shield

Get it Now on Amazon
It is a massive and adjustable duty plate made from porcelain. You can install these grill plates either front to back or side to side. The plates come in different sets, set one, two, three, or four to fit the various barbecue sizes.
- Unicook porcelain large grill heat shield

Get it Now on Amazon
The plate is large enough for grills that require a larger burner protection. They have enlarged and adjustable heat plates to offer a customized fit.
Conclusion
Enjoy your favorite grilled meals ranging from vegetables, fruits, meat, and more at any time you wish. With the DIY steps of making a heat shield, will make you enjoy your summer barbecuing moments. They are comfortable and straightforward to grasp, make your grilling moments the best and worthily memorable. Follow the steps, and you will be free to grill dripless and tasty heat shield meals.